Now and again one wants to create a contour map of a particular area or region. For this purpose a file of data points specified in terms of latitude, longitude and elevation is required. There are various ways of obtaining the data:
- NASA Earthdata website (requires registration)
- Google Earth path exported as a KML format file
- Personal survey using a suitably calibrated GPS to generate a criss-cross track.
Once obtained, the information may be processed, displayed and saved using:
- General geographic information systems (eg ESRI/QGIS)
- Specific application software (eg QuikGrid).
Table of Contents
Using QGIS with NASA Earthdata overlaying OpenStreetMap
For those who are familiar with geographic information systems (GIS), use of the freeware program QGIS to produce contour maps is straightforward. Those who are not familiar with such software (and don’t want to become so!) should proceed to the next section.
To create a contour map using QGIS one must install the QuickMapServices and NASA SRTM (Shuttle Radar Topography Mission) plugins. The first makes possible import of an OpenStreetMap basemap whilst the second provides elevation data to feed QGIS’s inbult contour production utility.
Installation of QuickMapServices plugin to obtain an OpenStreetMap basemap
- Launch QGIS.
- From the Project tab on the menu bar, select “New” to create a new project.
- From the Project tab on the menu bar, select “Save” to save the project.
- Select “Plugins” from the QGIS menu bar.
- Select “Manage and Install Plugins”.
- From the search bar of the Plugins window, type and search “QuickMapServices”.
- Select “Upgrade” to download a new version of the plugin, where applicable.
- Click “Install” to install the “QuickMapServices” plugin.
- From pool of tools on the menu bar, select “Web”.
- Toggle to “QuickMapServices” and select OSM to import the OpenStreetMap basemap.

You may be disappointed that the Web/QuickMapServices menu offers only two basemap options. Fortunately, there are many others available. To access them, locate the three earth symbols sitting side by side on the toolbar (see illustration to left). Click on the symbol with the + on it. A menu will appear. Select “Settings”, then the “More services” tab. Ignore the “Attention” warning and click on “Get contributed pack” followed by “Save”. You will now find that the number of basemap choices under Web/QuickMapServices has increased to at least 16.
Installation of NASA SRTM plugin to obtain elevation data
- Select “Plugins” from the menu bar.
- Select “Manage and Install Plugins”.
- From the search bar of the Plugins window, type and search “SRTM-downloader”.
- Select “Upgrade” to download a new version of the plugin, where applicable.
- Click “Install” to install the SRTM-downloader plugin.
- From the QGIS menu bar, select “Plugins”.
- Select “SRTM-downloader”.
- Toggle to your location of interest.
- From the SRTM-downloader window, click “Set canvas extent”.
- Set “Output-Path” to your desired location folder where the SRTM is to be saved.
- Click “Download”.
- A window appears requesting for your Earthdata login. You will need to register for the NASA Earthdata portal’s Earthdata Login User Registration
- Key in the generated login details from Earthdata’s portal into QGIS login window.
- Click OK to download the elevation data.
Creation of contour lines & labels
- Open QGIS and add the elevation data you want to use to create the contour lines.
- Once the data is loaded, go to the “Raster” menu and select “Extraction” and then “Contour”.
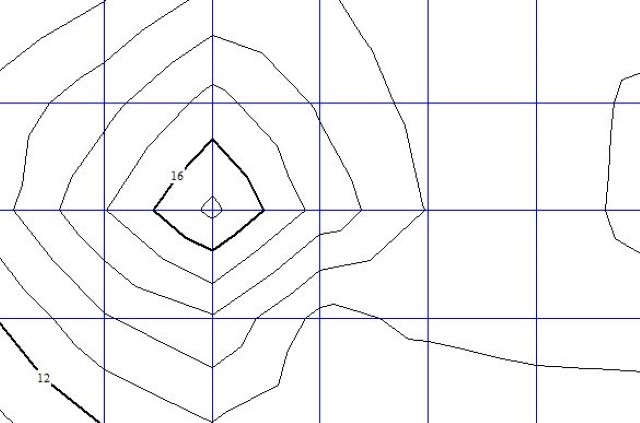
- In the dialog box that appears, select the input layer as your elevation data, choose the contour interval you want (e.g. 20). You can also specify a file name and location to save the output shapefile.
- Click “Run” and wait for the contour lines to be created. Once the process is complete, the new shapefile will be added to the Layers panel.
- To label, the contour lines, right-click on the contour layer in the Layers panel and select “Properties”.
- In the “Layer Properties” dialog box, go to the “Labels” tab. Select “Single Labels” and in the Value drop down menu select ELEV. Click Apply/OK and the contour lines will be labelled with their elevation values.
- You can adjust the font size, color, and placement of the labels in the “Text style” section. You may also want to enable a buffer around the label to make it easier to read.
Further enhancements can be introduced as detailed in the OpenSourceOptions website (among others).
Alternative approach using QuikGrid & a CSV Datafile
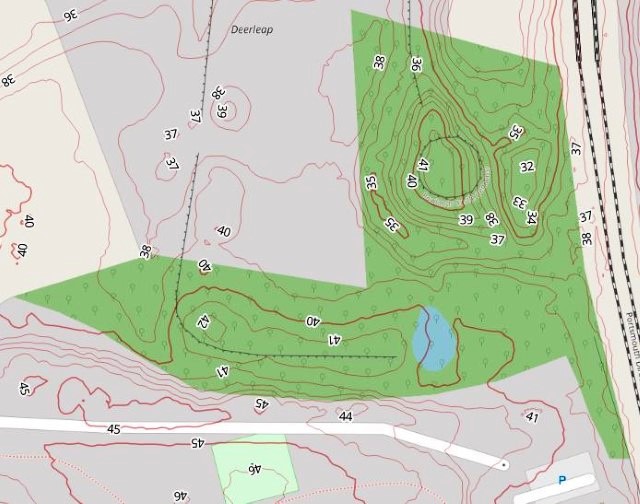
The best (free) contour production programme currently available is QuikGrid. This relies on data supplied in the form of a CSV file containing three columms – x coordinate, y coordinate and elevation. Such simple point cloud data are surprisingly hard to obtain. Google Earth is the obvious source, but under the terms of its license Google is not permitted to provide point clouds; hence a workaround is necessary.
The steps required are as follows:
- Load up Google Earth Pro and create, then save, a zig-zag path plotted over the area of interest. Two save options will be offered – KML and KMZ. Choose KML.
- Use GPSVisualizer to convert the KML file to a GPX file.
- Change the extension of the GPX file to XML. (A GPX file is a version of an XML file, which Excel can read).
- Drop the XML file into a new, blank, Excel worksheet. You will be asked how to open the file. Select “As an XML Table” and ignore the warning that follows.
- Use Excel to eliminate all superfluous rows and columns and then save the data out as a CSV file;
- Load the CSV file into QuikGrid using the sequence File_Input scattered data points_Input metric data points;
- Manipulate the contour map in QuikGrid as required; and finally
- Export the contour map as a DXF file.
Further manipulation of the map (if required) is best undertaken using a (free) CAD programme such as nanoCAD, exporting the result as a DXF file.
Note that converting the DXF file to a GPX using MyGeodata or similar software makes possible display of the finished contour map in Google Earth.
Additional comments
The following points may be of interest:
- It is possible to load a GPX file directly into Excel as it follows the XML format, thus avoiding the conversion to XLSX using MyGeodata. The downside of this approach is that a modicum of skill is required to set up the Excel workbook in a way that makes x, y, z data extraction easy.
- The accuracy of elevation data obtained via Google Earth is variable and depends on the location. Inconsistencies between tiles have been reported. Overall, elevation data would seem to be within 7m of true.
- Garmin’s GPS units that contain a barometric altimeter properly calibrated (eg GPSMap 64s/65s) are accurate to plus or minus 10ft/3m over the elevation range -2,000 to 30,000ft.
- Increasingly, open source LiDAR (Light Detection & Ranging) datasets are becoming available. These can be used to create contour maps and can be manipulated in mapping programs such as QGIS. UK data is usually split into seven layers: Unclassified, Ground, Low Vegetation, Medium Vegetation, High Vegetation, Building & Low Point (Noise). Unfortunately, the elevation data in the “Ground” layer are unreliable where areas are covered in dense woodland and currently this restricts use of LIDAR datasets for contouring purposes.